
STUDIO LAYOUT
Inside a kinusaiga board
Fabric on the surface. Adhesive underneath. Scored foam at the heart. A simple set of materials becomes a piece full of texture and character.
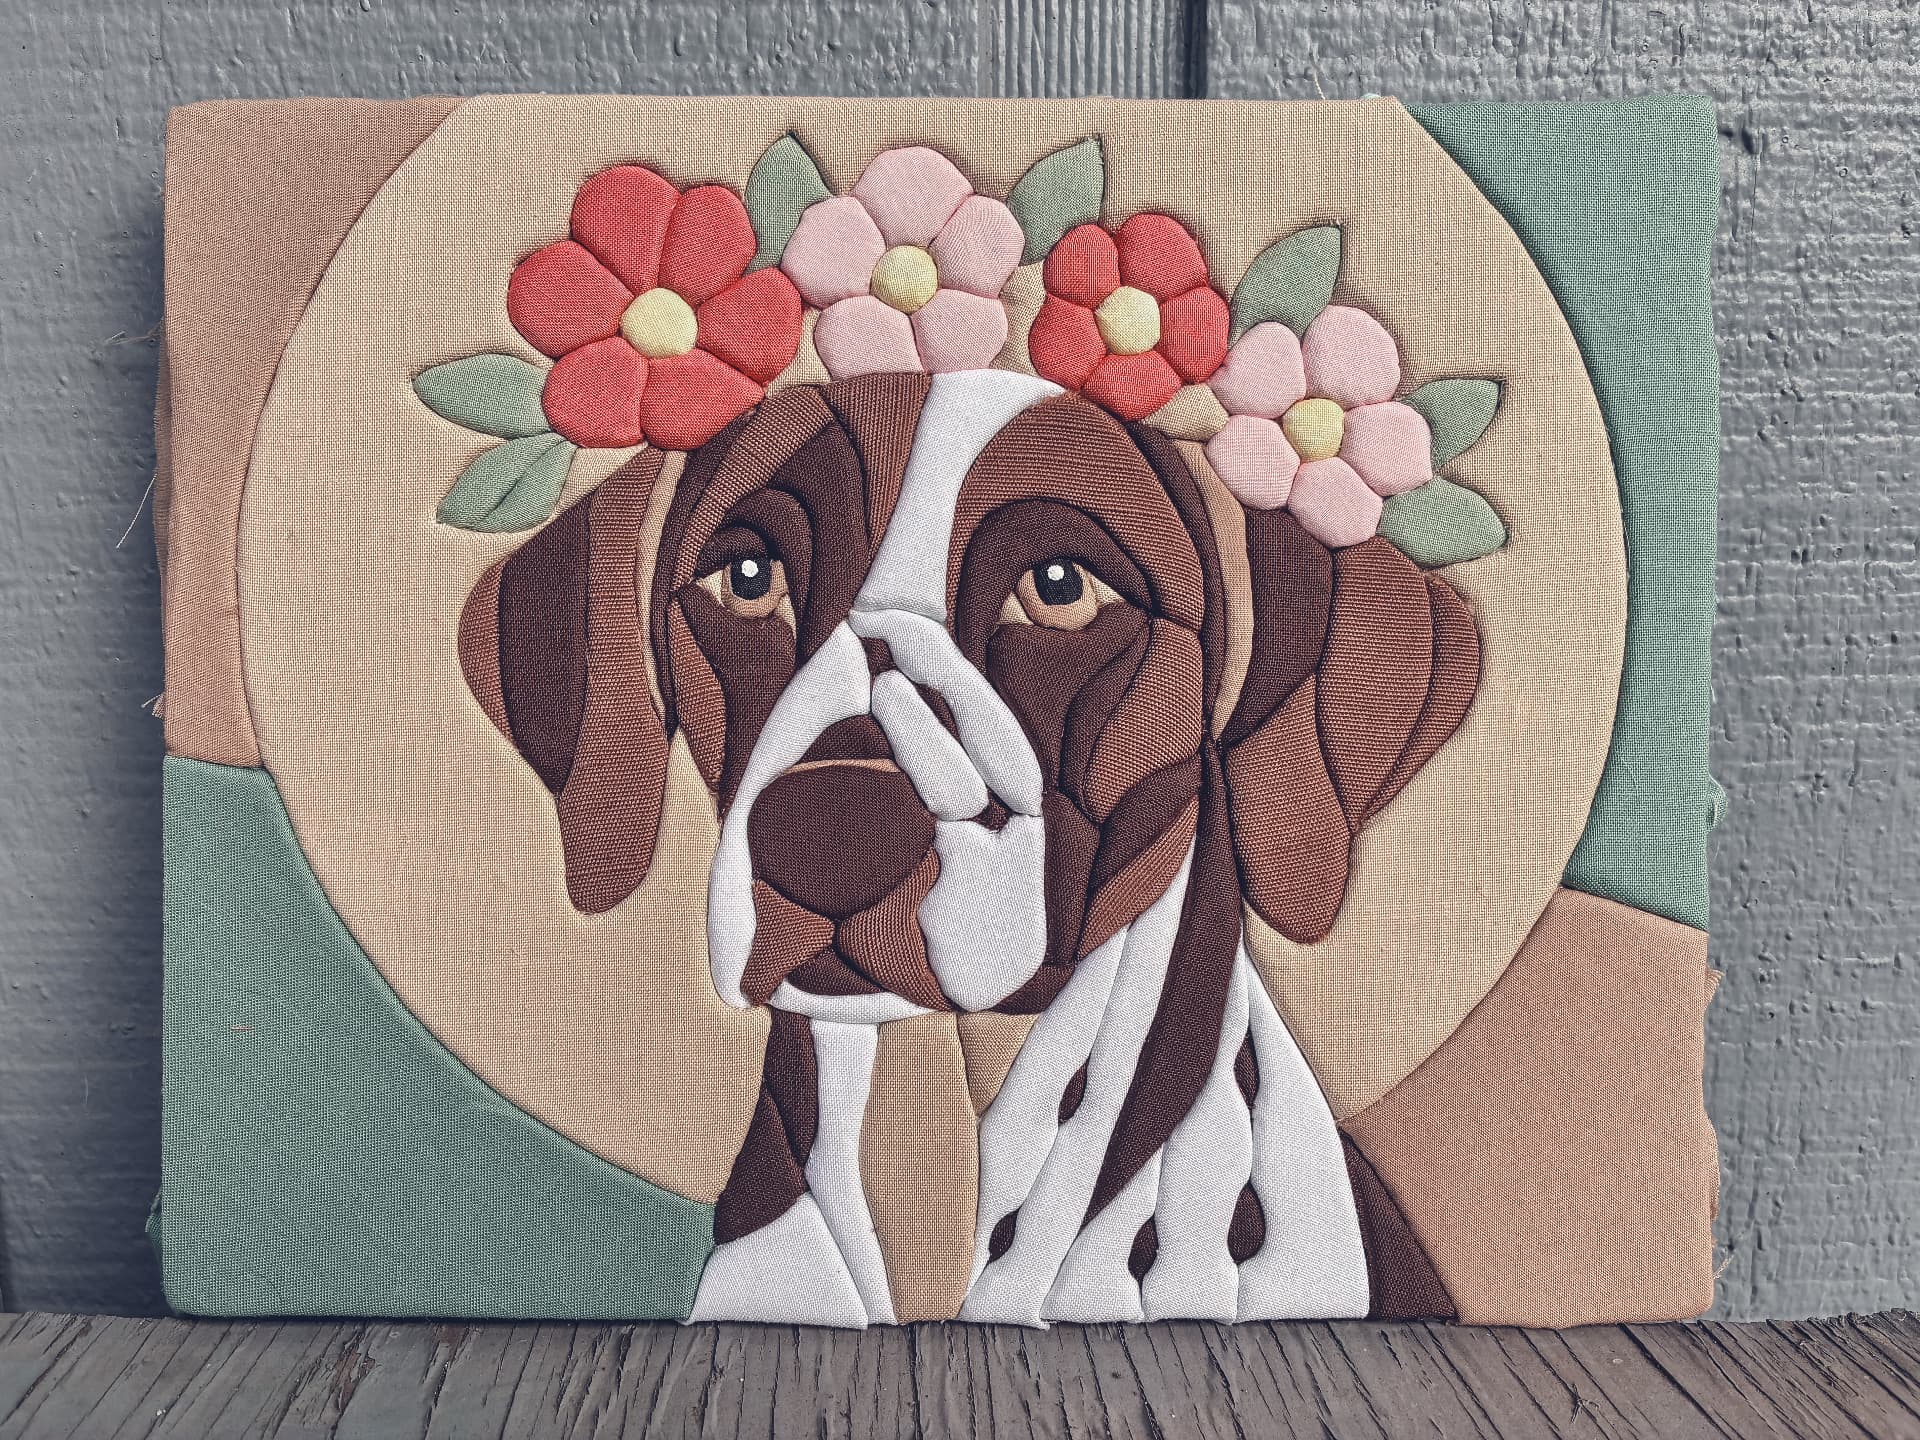
THE FINISHED PIECE
A portrait made from fabric, not paint
The fabric is the visible artwork. The foam and adhesive stay hidden beneath it. Patterns, weave and carefully tucked edges give every section its own character.
- Surface
- Individual fabric sections with tucked edges
- Hold
- Double-sided adhesive beneath the fabric
- Foundation
- 1" FOAMULAR NGX foam, scored along the pattern
The three layers
The finished fabric surface
Each fabric piece covers its section. Its extra edges are tucked into the scored grooves, giving the portrait its clean joins without stitched seams.
Your chosen fabric scraps, solids and patterns
The tools on the table
X-Acto knife with extra blades
Score the template boundaries in the foam. Keep spare blades ready for clean cuts.
Alcohol prep pads
Wipe adhesive and foam residue from the blade. Let it dry before continuing.
FIVEIZERO seam rippers (2 big, 2 small)
Ease fabric edges into the grooves; use the smaller tool for tighter sections.
Scissors and thread snips
Cut your fabric sections and trim away excess before the final tuck.
From pattern to finished board
Prepare the panel, apply adhesive, score the pattern, then peel, place and tuck each section.